Building Cool Stuff out of Trash
7/4/22
What's up folks?? Thanks for stopping by!
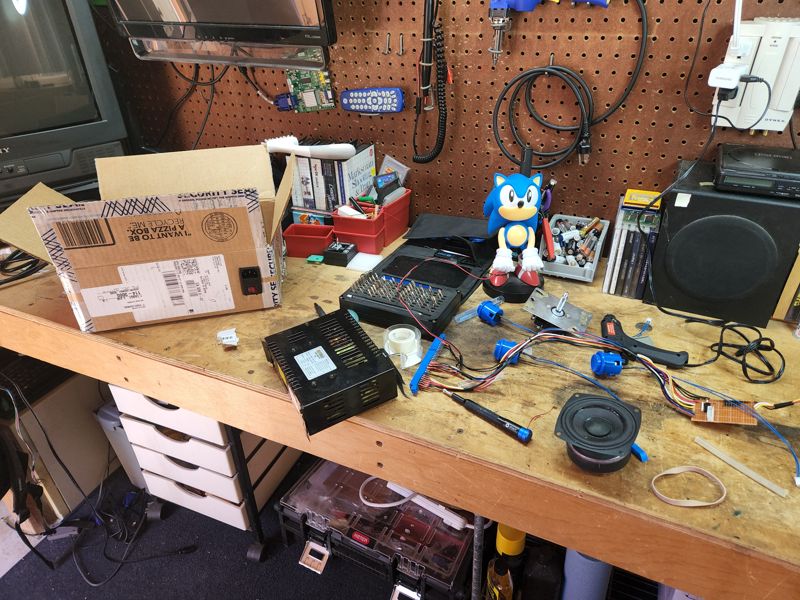
I got a whole stack of arcade boards to work on and needed a quick and easy way to be able to test them without going back and forth to the garage and plugging them into a cabinet. An arcade testing unit (otherwise called a "Supergun") can go for quite a bit online these days. And for good reason! It takes a lot of work to put one together and the ones I've seen for sale have really nice acrylic, see-through cases.
Well... I had a cardboard box and a bunch of spare parts...
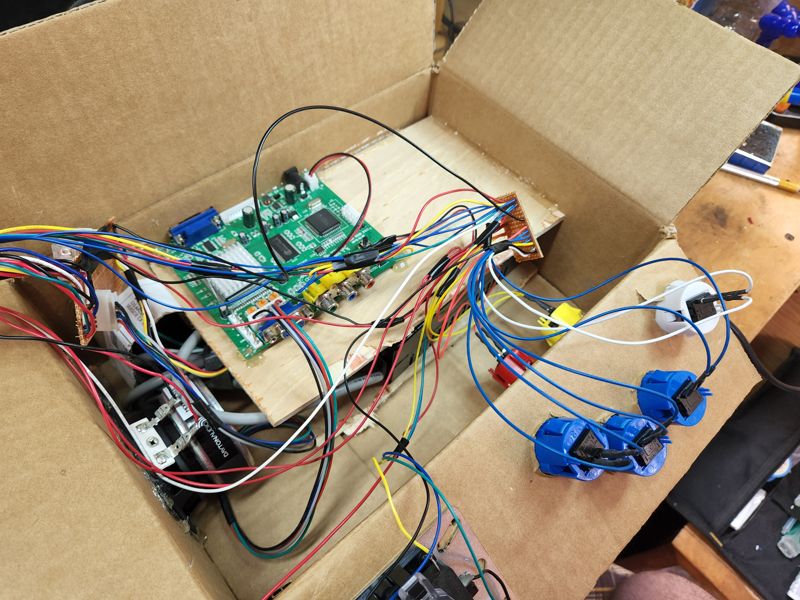
Power supply is wired up to a plug with a rocker switch installed. After getting the power supply configured, I cut a couple pieces of wood to keep it sandwiched and secure inside the box. This way I can arrange wiring and other components on and around the power supply without risk of any kind of shorts.
You can't see it very well, but tucked in the corner there is a piece of strip-board with a couple fuses on it. The +5v and +12v lines run through those fuses to protect the rest of the equipment from power surges or shorts.
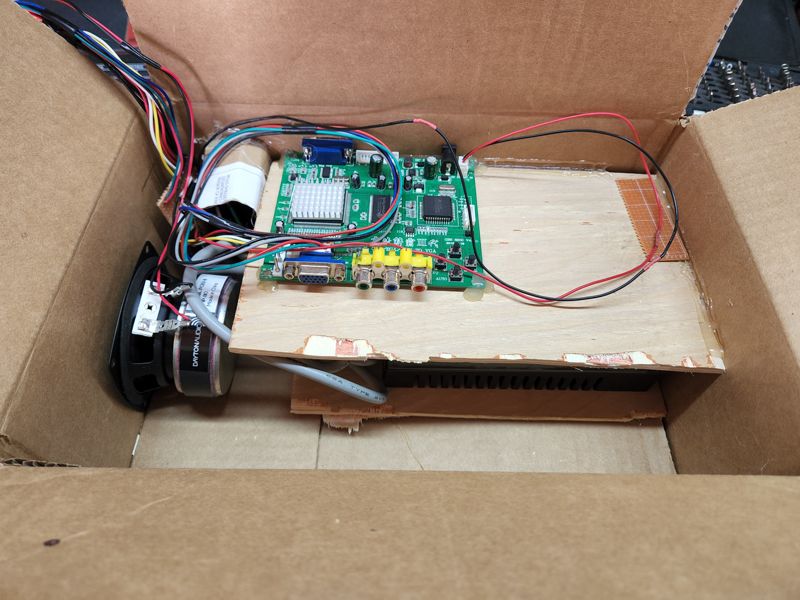
The component on top there is the VGA converter board. It takes the RGB signal from the arcade board and translates it into VGA so that I can plug the board into a standard computer monitor. There's also a small speaker tucked in there too.
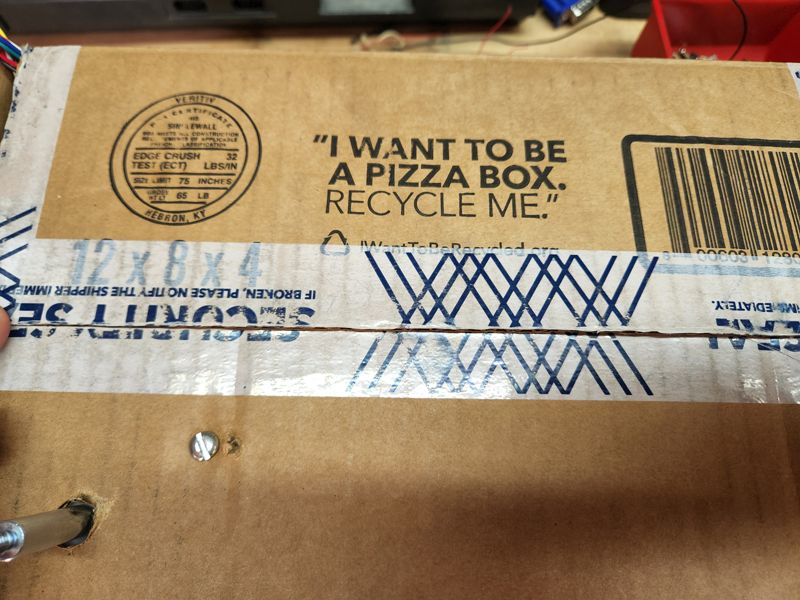
Of course, we need to cut holes to plug stuff in...
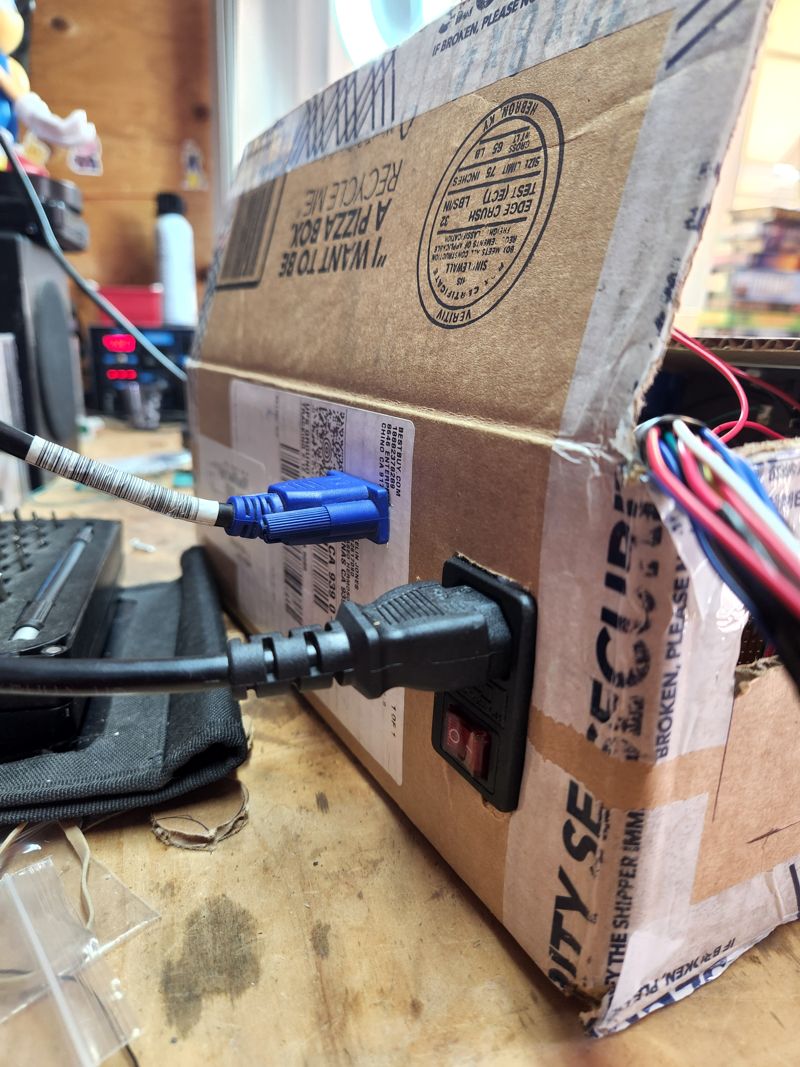
Sorry Mr. Box, but I had other plans for you...
Next is getting all the buttons and joystick in there. The box flap is just the right size for the control panel to fit and be able to open everything up for maintanance without tearing it apart.
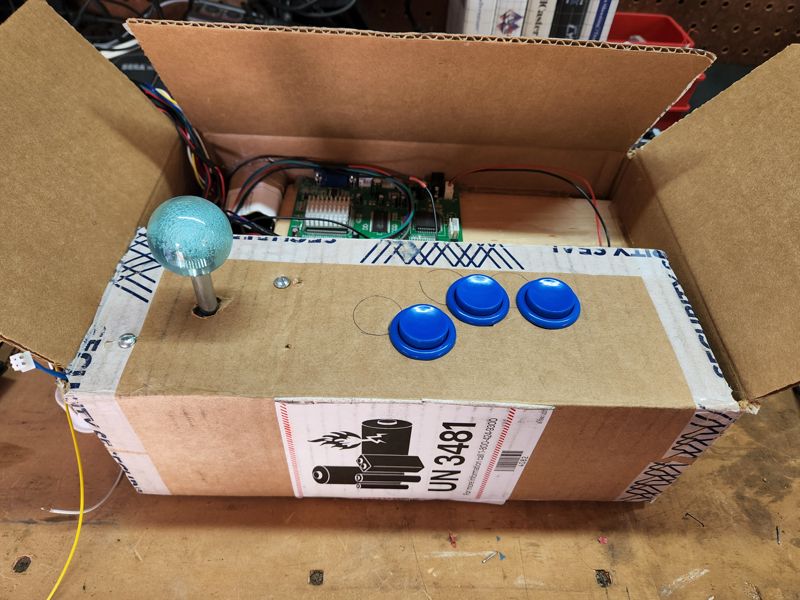
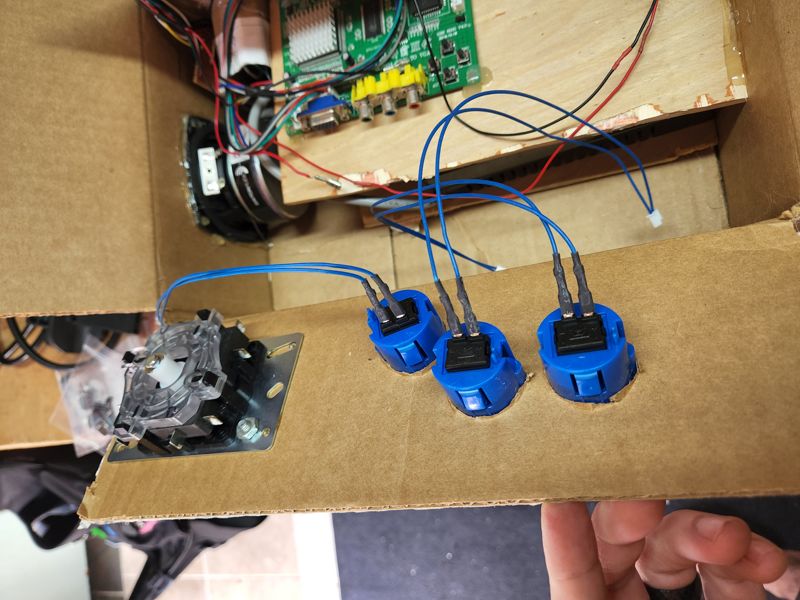
Now for the proverbial "fun part"... The wiring!! Although not entirely difficult it is incredibly tedious... Each button (plus joystick inputs) has a positive wire that I soldered to an interface board that will go to the jamma connector. Then there's a ground connection for each button. Luckily, most of the ground connections can be daisy-chained together and sent down one line to the jamma connector.

When I first started working on arcade stuff, I was intimidated by how much apparent wiring there is inside cabinets. But once you realize most of it is just for button inputs it becomes a lot less scary.
All done!!
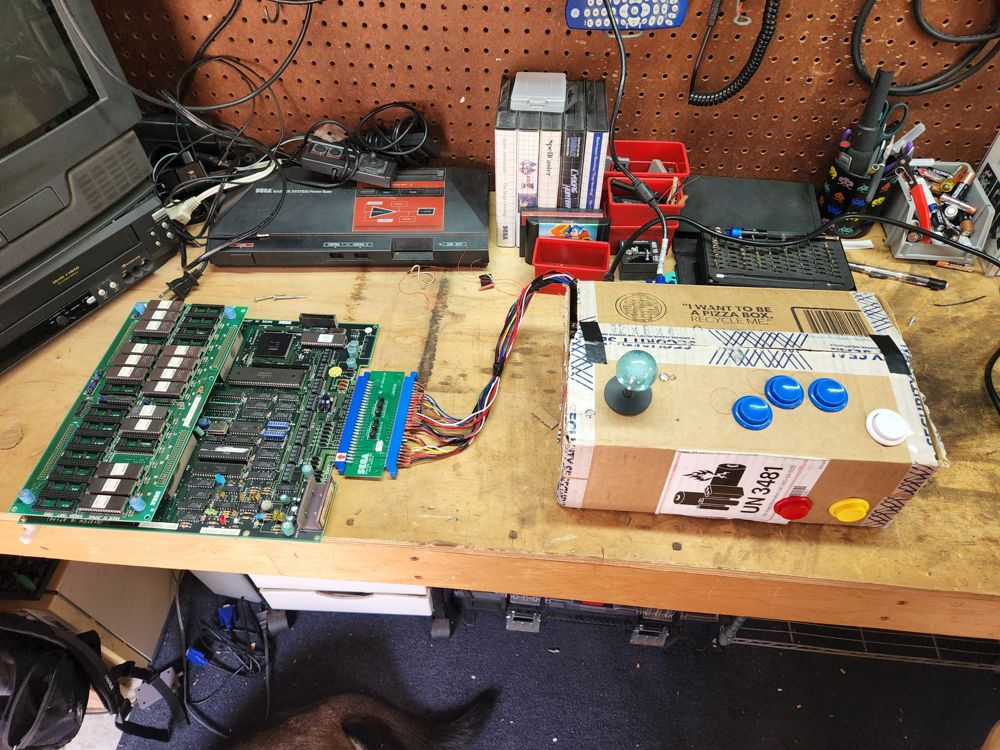
Let's plug it in and see if it works...
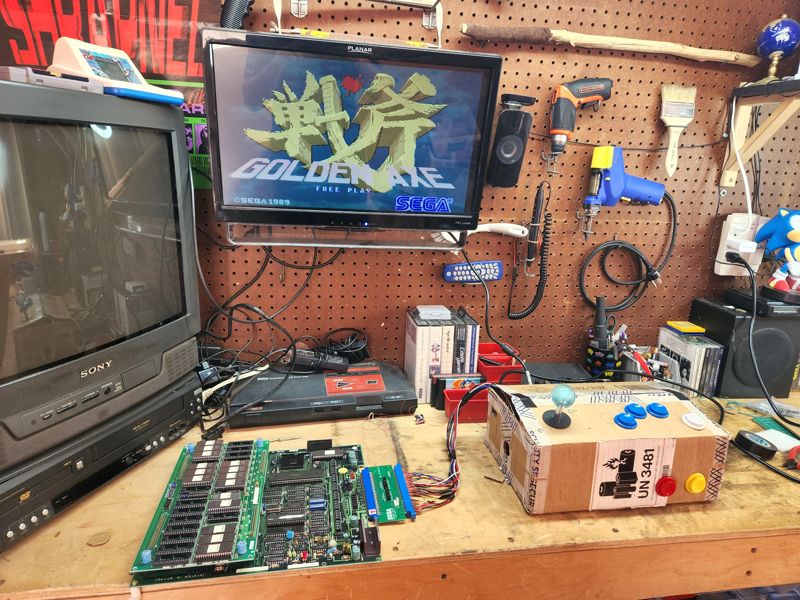
Woohoo!!! I'm super stoked with how this came out. I call it THE BOX. :D This is a super easy and inexpensive solution to testing out some arcade boards. Mostly what you need is time and patience. And lots and lots of wires!!
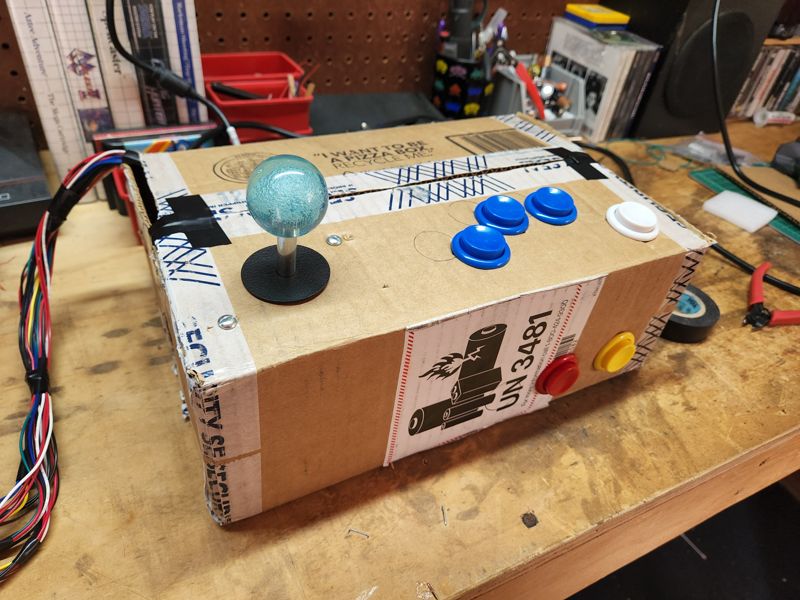
I just love how compact it is and that I don't need a separate interface or unit for controls. I've got a full 1P setup, plus buttons for putting a coin in and for accessing the test menu (the yellow and red buttons on the side). It was a super fun project and it really helped me understand what's going on inside arcade cabinets.
Thanks for hanging out!!
-Myles :)